Setting Point Test: Wrinkle, Thermometer and Saucer Methods Compared
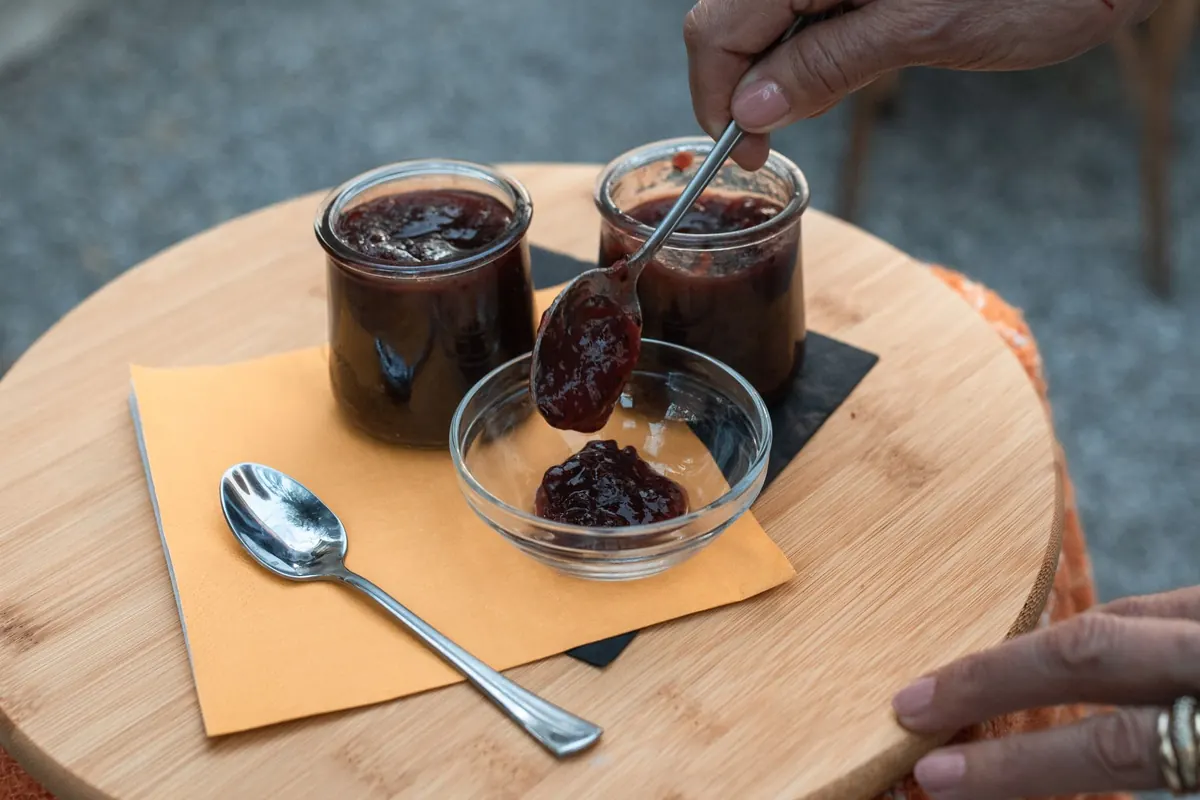
A pan of plum jam has been at a rolling boil for eleven minutes. The bubbles have slowed from lively to syrupy, the smell has deepened, and the mixture coats the spoon in a thick sheet. It is either ready, or it is twenty minutes away. This is the part of preserving where a small cold saucer, a fingertip and a reliable thermometer do most of the work.
All three common setting-point tests are asking the same question: has enough water boiled off for the sugar and pectin to form a gel once the jam cools? They differ in how they answer it, in what they tell you beyond a simple yes or no, and in how badly they behave when you rush them.
What the setting point actually is
Setting point is a concentration, not a stopwatch reading. As water leaves the pan, the sugar in the mixture becomes more concentrated; at roughly two-thirds sugar by weight, pectin strands can link into a network that traps fruit and syrup and holds its shape when cold. On the stove, that concentration shows up as a temperature a few degrees above the boiling point of water — about 104–105°C (219–221°F) at sea level.
The fruit matters as much as the method. High-pectin fruit such as blackcurrants, gooseberries, tart plums and cooking apples reaches set after a relatively short boil. Strawberries, cherries and pears are low in pectin and need a longer boil, a squeeze of lemon, or added pectin. Every test below still works, but it will fire much sooner on a gooseberry than on a strawberry.
It also helps to remember what you are actually testing for. A set is not the same thing as "thick while hot." Syrup thickens as it cools and continues firming for days afterwards, which is why so many first batches end up closer to fruit toffee than to a spread. Every test below is an attempt to look a little way into the future of the jar.
The wrinkle test
The oldest and cheapest of the three. Everything depends on the saucer being properly cold, so start before you start cooking.
- Put two or three small saucers in the freezer while you prepare the fruit.
- When the jam looks thick, lift the pan off the heat. A rolling boil carries on cooking while you check.
- Spoon a teaspoon of jam onto a chilled saucer and leave it for a full minute. Not ten seconds.
- Push the edge of the blob with your fingertip. If the surface wrinkles into fine creases and moves ahead of your finger, you are there. If it slides about like syrup or spreads into a puddle, boil for a few more minutes and test again.
Best for: small batches, high-pectin fruit, and learning what a set feels like in your own kitchen. It costs nothing and gives an immediate answer.
Pitfalls: testing a blob that is still hot, testing only once, and using a saucer that has been sitting on the worktop. Jam also continues to firm as it cools, so a faint wrinkle taken off the heat is usually enough. Wait for a stiff, leathery crease on the saucer and you will end up with jam that is firm to the point of chewy.
It is worth knowing how much the timings vary between fruits. A blackcurrant jam made with equal weights of fruit and sugar often wrinkles after eight to ten minutes of hard boil. A strawberry jam relying on lemon juice alone may need twenty-five. Same test, same saucer, wildly different clocks — which is exactly why the pan's own signals matter as much as the stopwatch.
The saucer test
Same cold saucer, more patience. Instead of pushing the blob straight away, you watch it. Drop a teaspoonful onto the chilled plate, leave it for a minute or two, and read the behaviour before you read the surface.
Does the jam hold a soft mound, or flatten into a puddle? Has a skin formed? Tilt the saucer: does it creep slowly as a thick sheet, or run like syrup? Draw a finger through the blob. If the channel closes over almost immediately, there is still too much water in the mix. If the edges of the channel hold and the surface beside it puckers, you have a set — or something very close to one.
Best for: larger batches, softer-set jams, and anyone who wants a little margin for error. Because you are judging texture rather than a single moment of wrinkling, it is more forgiving than the fingertip method and gives you a clearer picture of how the finished jam will spoon.
Pitfalls: the saucer test rewards dawdling, and jam left off the heat for too long can start to set in the pan. Keep the pan warm, or work in two saucers so you can test, adjust and test again without a long pause. And remember that a firm skin on a cooled blob is not the same as a firm set in a jar — the inside may still be loose.
The thermometer test
The thermometer answers a different question. Instead of asking "does this look right?", it asks "how much water is left?", and it answers with a number you can write on a recipe card and aim for again next September.
Clip a sugar thermometer or digital probe to the side of the pan so the sensor sits in the jam but not on the base of the pan. Stir first: a furious boil creates hot spots, and a reading taken in one pocket of the pan can be several degrees off. Once the temperature settles, look for 104–105°C (219–221°F). Jam that has not yet reached that point will run; jam taken well past it will set hard and taste cooked.
Best for: large batches, low-pectin fruit, and repeatability. If you make the same damson jam every year, a thermometer takes the guesswork out of it, and it is the only one of the three tests that reliably scales when you double or triple a recipe.
Pitfalls: a shallow layer of jam may not cover the sensor, giving you a reading that measures air and steam. Boiling point also falls as you climb — roughly one degree Celsius for every three hundred metres above sea level — so a kitchen at altitude should aim a little lower. And a thermometer tells you nothing about flavour: jam can hit the number while still tasting thin and sharp.
Signs the pan gives you before any test
Experienced preservers rarely rely on a single checkpoint. The pan tells you a great deal on its own:
- The bubbles change. Early boiling is fast and frothy; near setting point the bubbles grow smaller, glossier and more uniform, rising slowly like a simmering mud pool.
- The sound drops. A bright, hissing boil becomes a lower, slower plop as the water content falls.
- The spoon coats. Lift a wooden spoon and let the jam fall. If two drips meet and form a slow, heavy sheet rather than separate beads, the mixture is close.
- The steam thins. A furious plume becomes a lazy curl, because there is simply less water left to drive off.
- The smell turns. Raw fruit gives way to something deeper and slightly caramelised — pleasant, but a warning that you are near the point where sugar begins to catch.
Which test should you use?
There is no single winner, and most cooks settle on a favourite combination.
- Wrinkle test: fastest, free, best for small batches and for building intuition. Least forgiving of impatience.
- Saucer test: most informative, best for soft-set jams and larger pans. Slower, and needs a couple of chilled plates ready.
- Thermometer: most precise and most repeatable, ideal for big batches and altitude. Costs money, needs care with placement, and cannot judge flavour.
The most reliable approach is to use the thermometer as your primary guide and confirm with the wrinkle on a cold saucer. One gives you the number; the other gives you the feel. When both agree, stop boiling and bottle.
When the test says no — and when you have gone too far
Jam that is too soft after cooling can be returned to the pan with a squeeze of lemon juice and boiled hard for another few minutes. If the fruit was low in pectin to begin with, a pouch of pectin or a grated cooking apple will do more good than another ten minutes of boiling, which mostly drives off flavour. Some batches are simply meant to be poured into jars as a sauce, stirred through yoghurt, or spooned over ice cream.
Jam that has gone past the point is harder to rescue but rarely unusable. Reheat it gently with a splash of water or apple juice until it loosens, then re-test. If it stays stubbornly firm, treat it as a glaze for roast pork, a filling for thumbprint biscuits, or a cheese-board companion — a hard set is a nuisance in a sandwich and a virtue on a plate.
Boil to a number, check with a saucer, and trust the wrinkle. Between the three, there is very little that can go wrong.
Go back to that pan of plum jam. The bubbles are small and slow, the spoon is coated, and a teaspoonful on a frozen saucer has just wrinkled under a fingertip. Take it off the heat, skim the foam, and fill the jars.
Photo: Topi_Pigula / Pixabay